This post shows you Easy Clothes Alterations That Make a HUGE Difference for Petite Girls
This site contains affiliate links, view the disclaimer for more information.
As someone who’s been shopping in the petite section for most of my life, I’ve learned that finding clothes that truly fit is often more about strategy than luck. Even with brands that carry petite sizing, I still run into long sleeves, gaping necklines, and hems that hit at all the wrong places. The good news? Most of those issues can be fixed with a few simple alterations.
Along the way, I’ve picked up a handful of tailoring techniques—some from professionals, others from trial and error. These small changes can make a big difference in how clothing fits and flatters a petite frame. And while not every piece is worth altering, knowing what to look for (and what to avoid) has completely changed the way I shop—and dress.
If you’re tired of settling for “close enough,” these practical fixes will help you create a wardrobe that actually fits your proportions—no compromises needed.

Why Alterations Are a Petite Girl’s Best Friend
If you’re petite, buying clothes that fit off the rack is basically like winning the lottery—rare, exciting, and not something you can count on. That’s why I’m a huge fan of learning a few easy clothes alterations that make a massive difference.
Always Buy a Bit Big—But Not “Too” Big
One of the first things I learned was this: it’s way easier to take something in than let it out. Like, tailors can work magic, but they’re not wizards. If a jacket is three sizes too big and hits you mid-thigh when it’s supposed to be cropped… it’s probably not worth saving. I try to find pieces that are just slightly too big or a bit long and then alter them to fit me perfectly.
Also, some vintage clothes are a rare exception—they sometimes have generous seam allowances that let you let out fabric. But that’s the exception, not the rule. So yeah, assume you can go smaller, not bigger.
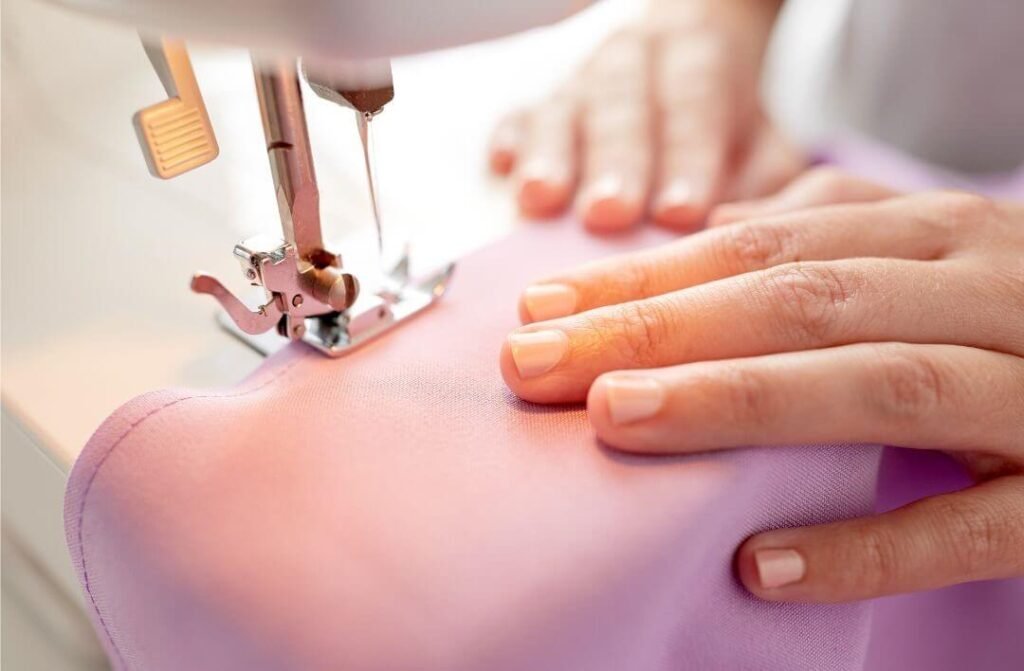
The Easiest Way to Learn Sewing Alterations

This might not be the most traditional approach, but I learned by doing. I started by pinning areas that didn’t fit quite right and sewing along those pin lines, adjusting the fit as I went.
Before working on any clothing you really care about, it’s a good idea to practice first. Pick up a few inexpensive blouses from a thrift store and stock up on pins.
Start by trying the clothes on and figuring out which areas don’t fit the way you want them to. Then, turn it inside out, put it back on, and use pins to take in any extra fabric where it felt off. If you’re working with an easy fabric like cotton, you can test your changes with a long stitch—no need to backstitch yet. Once you’re happy with the fit, go ahead and sew it more permanently!
Pin From the Top Down for Better Fit
When I’m figuring out where to tweak a garment, I always start from the top and work my way down. So for dresses and tops, that means the shoulder seam is the first place I check. For pants and skirts, I start at the waistline. You’d be amazed how many fit issues actually come from up top.
I once made a dress that had weird gaping at the neckline. Took me forever to realize I needed to fix it from the shoulder seam, not the bust. Once I pinned and took in that seam, it laid flat like a dream. For structured pieces, adding darts is another game-changer—especially if something fits in one spot but balloons elsewhere.
Sketch It Out So You Don’t Forget
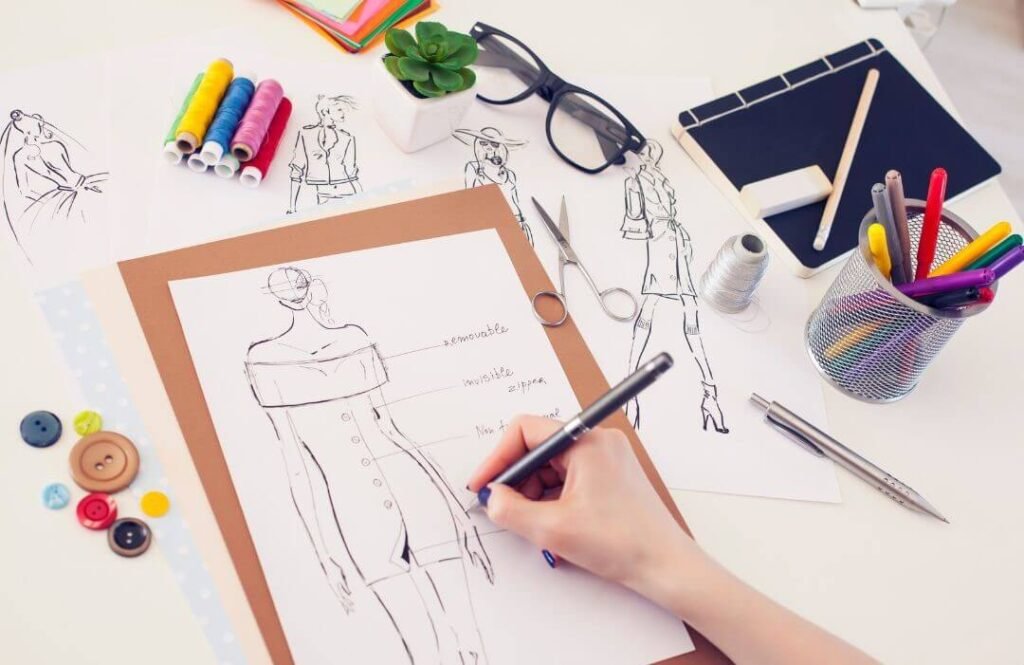
This might sound nerdy, but I always draw a little sketch before I start sewing. Just a quick doodle with notes and the measurements I pinned before taking the pins out. Because once you flip the garment inside out to sew (you always sew from the inside), those visual cues are gone.
It’s saved me from making so many dumb mistakes—like sewing the wrong side or forgetting which shoulder needed the extra tuck.
Straight Hems Are Cheap Wins
If you’re new to this world of petite clothing hacks, hemming is the easiest and cheapest place to start. Whether it’s pants, skirts, or sleeves, just a basic straight hem can transform a piece. I’ve had jeans hemmed for $10 and suddenly they looked like designer denim on me.
That said, be warned: if your garment has lining, buttons, or fancy stitching, things get more complicated (and expensive). For example, hemming a simple cotton skirt = easy. Shortening sleeves on a down winter coat? Forget it. I tried that once and the tailor just laughed.
Strap Adjustments: YES. Shoulder Rebuilds: HARD PASS.
Taking up straps on a dress or top is pretty beginner-friendly—it usually just involves folding over and resewing. But anything beyond that? Like narrowing the shoulders or shortening the torso? Yeah, I’ve learned to walk away.
Those fixes usually involve unpicking the entire top half of a garment and remaking it. Not worth it unless the piece is super special. That’s why I only buy tops and dresses where the shoulders and waist hit in the right spot—which pretty much limits me to the petites section. And honestly, that’s fine. I’d rather start with a closer fit than try to reconstruct a shirt.
If It’s Too Big All Over, You Still Have Options

Sometimes I find a piece that just fits big everywhere. And as long as it’s not too oversized, it can often be taken in pretty easily. Side seams, back seams, darts—all can be adjusted with minimal effort.
But again, you can’t make something bigger without fabric. So if it’s too tight, especially in the shoulders or bust, I pass. Some vintage finds give you wiggle room (shoutout to generous seam allowances), but don’t count on it.
My Go-To Sewing Hack for Cheap Tees
Okay, here’s a total lifesaver: for those long, shapeless tees that don’t sit right on my frame, I flip them inside out and sew straight across the shoulder seams. Not pretty, not professional—but it works. I’ve done this to $8 tees from Target that were too long in the torso, and they looked 10x better after a 5-minute fix.
Pro tip: avoid stretch knits unless you’ve got experience. Non-stretchy knits are so much easier to work with. I’ve messed up more stretchy tops than I care to admit.
How to Hem Jeans (Without Losing the Original Hem)
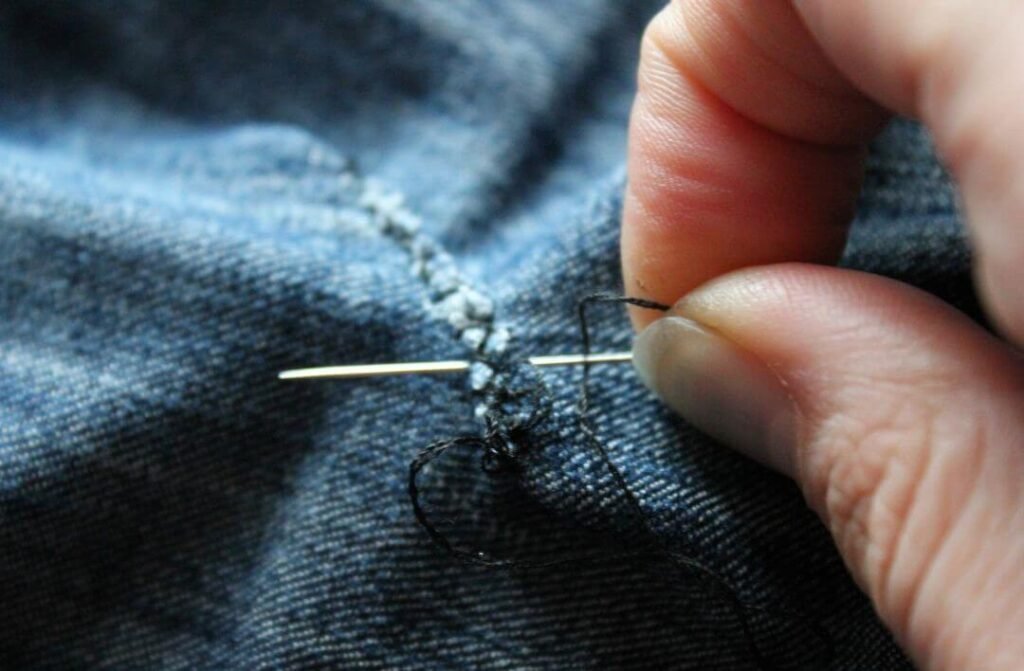
This is hands-down one of the most useful clothes alterations you can learn as a petite person. I’ve hemmed more jeans than I can count — and I used to do it all wrong, chopping off the bottom and losing that nice thick finish that makes jeans look store-bought. Turns out, you don’t have to lose the original hem at all.
What You’ll Need:
Sewing machine (or needle + strong thread)
Pins or fabric clips
Measuring tape
Chalk or fabric marker
Iron (optional, but makes a cleaner finish)
Steps:
Try them on and mark the length. Put the jeans on with shoes you’ll wear them with. Mark where you want them to hit — I usually go just at the top of the shoe.
Fold up, don’t cut (yet). Take them off and fold the bottom up on the outside of the jeans, keeping the original hem at the very edge. Pin in place. This folded section is the amount you’ll shorten.
Sew just above the original hem. Stitch around the leg about ⅛” above the original hem. You’re basically sandwiching the original hem into a new seam.
Trim and finish (optional). If the fold is bulky, trim the excess fabric inside, leaving about ¼”. If the denim frays, zigzag stitch the raw edge or use pinking shears.
Fold the hem down and press. Once sewn, fold the original hem back down and press with an iron. The result? Jeans that look like they were made for your inseam.
⚠️ Pro tip: This works best on straight or skinny jeans. Flared or wide-leg styles may look off if you lose length from the bottom.
How to DIY Dart a Top for a Better Fit
Darts are magical. Seriously. They pull in excess fabric without destroying the overall shape of a garment. I started adding darts to loose tops when I got tired of looking like I was wearing a paper bag. It’s especially helpful if a blouse fits in the shoulders but billows weirdly at the bust or waist.
What You’ll Need:
Safety pins or straight pins
Chalk or fabric marker
Measuring tape
Sewing machine or needle and thread
Patience (because your first dart might be wonky)
Steps:
Put the top on inside out. Stand in front of a mirror and pinch the fabric where it’s too loose — usually near the bust or waist.
Pin along the dart line. Use safety pins to shape the fabric how you want it to sit. Classic dart shape is like a long diamond—wide at the center, tapering to a point.
Take it off and measure. Lay the top flat and measure from the armhole or bust point down to the waist. Mark the center of your dart and how wide you want it to be (usually ½” to 1” wide at the fullest part).
Draw the dart. Use chalk to sketch your dart—two straight lines meeting at a point, symmetrical on both sides.
Sew the dart. Start sewing from the wide part and taper to the point. Don’t backstitch at the tip—just tie off the thread by hand so it doesn’t pucker.
Press the dart. Use an iron to press the dart down toward the waist or side seam. It’ll lie flatter and look more professional.
🧵 Heads up: If you’re working with thick or patterned fabric, test on a scrap first. Once you sew a dart, it’s tough to undo without leaving a mark.
Both of these clothes alterations are beginner-friendly, but like anything, they take a little practice. I’ve had darts end up crooked and hems that came out uneven. But the more you do it, the better you’ll get—and the more my clothes actually feel like they belong on you.
When in Doubt, Google It
No shame here: I still google every new alteration I haven’t done before. “How to shorten straps on a dress with lining” or “how to taper pant legs without a serger.” Someone out there has already made the mistake and figured it out.
And honestly, every time I try something new, I get a little better. Like anything else, practice is what levels you up. Start small, mess up, try again. You’ll get there.
Clothes Alterations: Don’t Settle for Bad Fit
If I’ve learned anything as a petite gal, it’s this: you do not have to settle for clothes that don’t fit right. A few smart, simple clothes alterations can make even cheap clothes look custom. Start with straight hems, strap adjustments, and taking in seams. Leave the complicated stuff (like shoulder reconstruction) unless you’re ready to go all in.
And seriously—if you’re standing in front of the mirror constantly tugging at something? It probably needs a tweak. Or it needs to go.
You will also love: How to Dress for a Petite Body Type

Hi, I’m Maleesha, a fashion writer who focuses on practical outfit ideas for everyday wear. I share styling tips based on real-life scenarios, budgets, and comfort — not just trends.
Leave a Reply